
How To Set Printable Area In Excel
How To Set Printable Area In Excel - Each print area will print as a separate page. A dark gray border appears around the. Afterward, go to the “page layout” tab and click the “print area” icon. First, select clear print area. Web to set the print area in excel 2013, simply select the cells you want to print, go to the page layout tab, click on print area, and choose set print area.
Web users can set the part of a sheet as a print area using the excel print area option, which contains data intended to be printed frequently, such as daily sales reports or test results. Click the print area button. Web to set the print area, you select the area and hit the set print area command; Web when you press ctrl + p on your keyboard, you’ll get a print preview 👀. Go to the ‘page layout’ tab. On the page layout tab, in the page setup group, click print area, and then click set print area. Web in this excel tutorial, you'll learn how to set the print area in excel to print only the part of the spreadsheet that you need.
How to set print area in excel
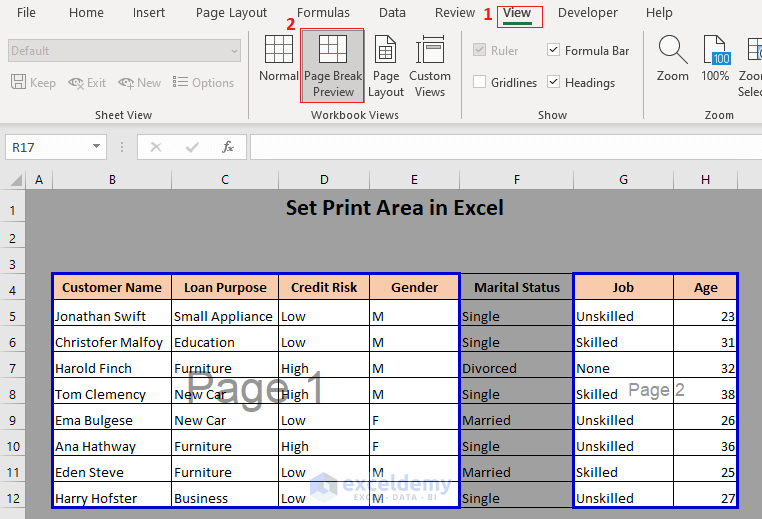
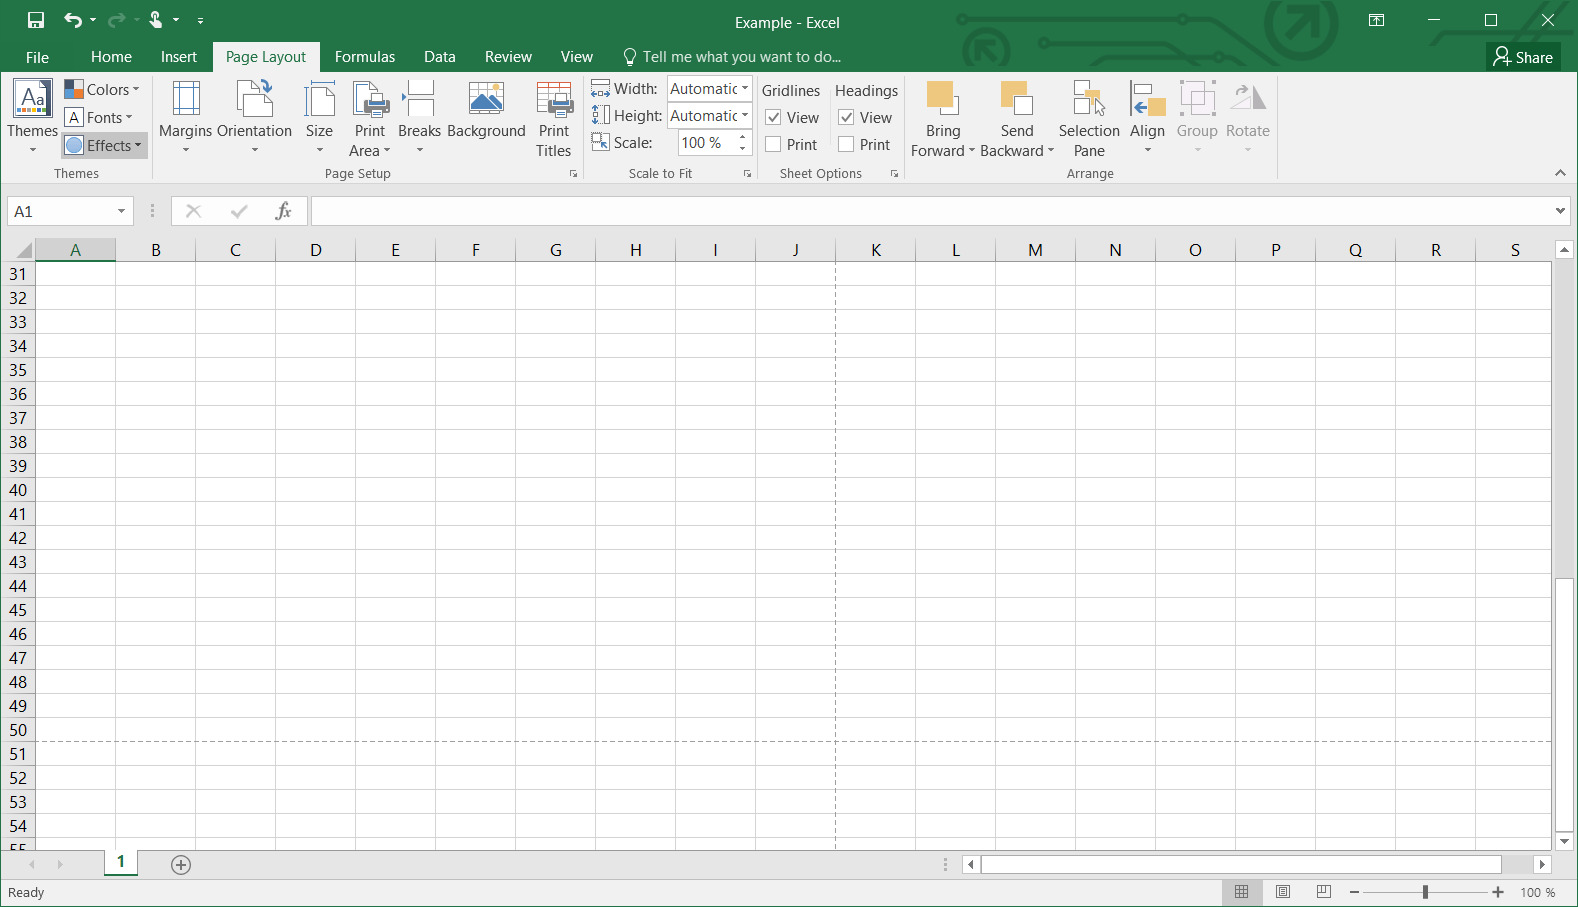
In the ribbon go to view > page break preview. Secondly, go to the page layout option. Go to the ‘page layout’ tab. Now, to view the print area,. Web to set the print area, you select the area and hit the set print area command; Choose set print area. to set multiple print areas.
How to Set Print Area in Excel Compute Expert
Select the part of the worksheet that you want to print. In the print dropdown, click on the “set print area”. See the picture, this is where the end of the document is, you can see the long section below. To execute this, follow the steps below. Once a print area is set, add additional.
How to Set Print Area in Excel (5 Methods) ExcelDemy
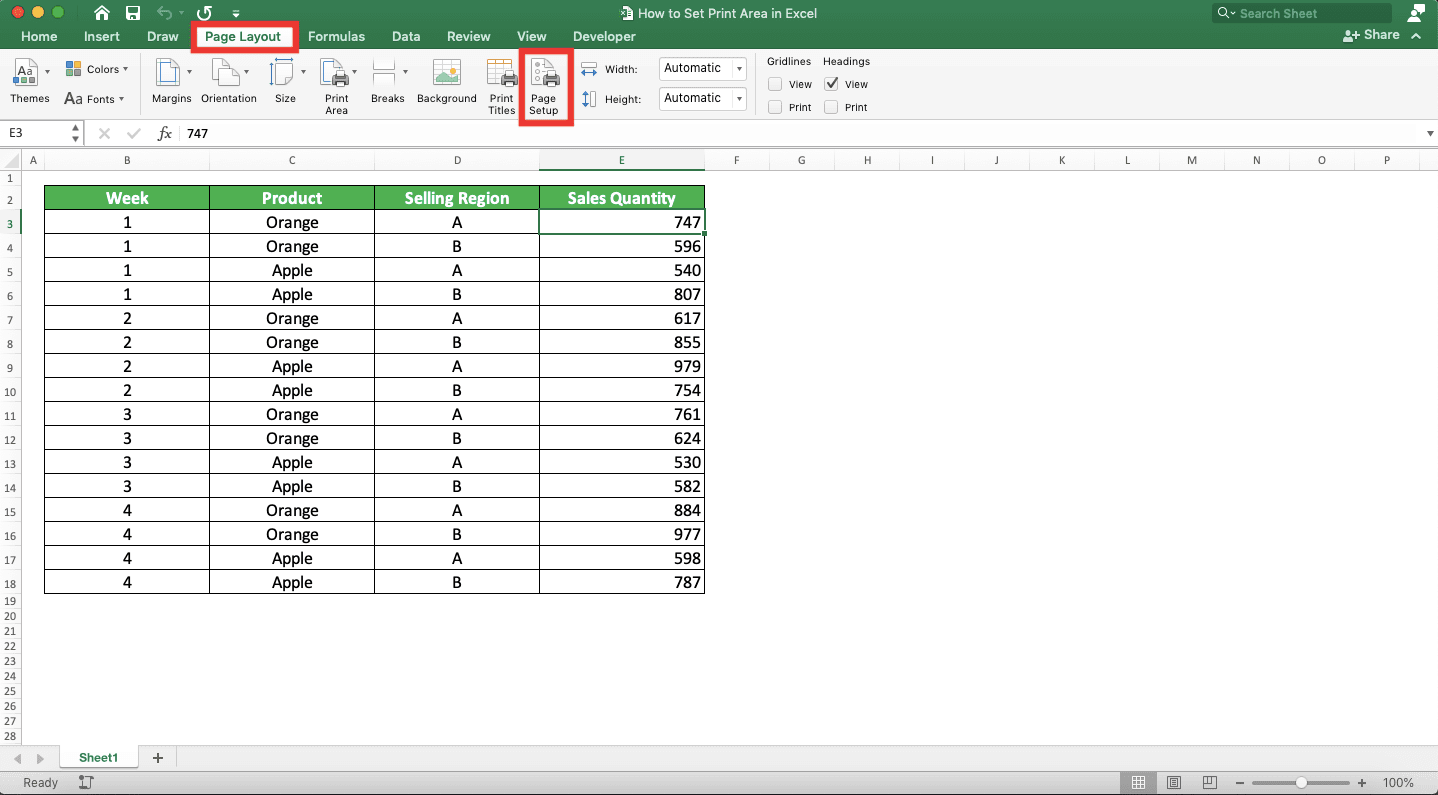
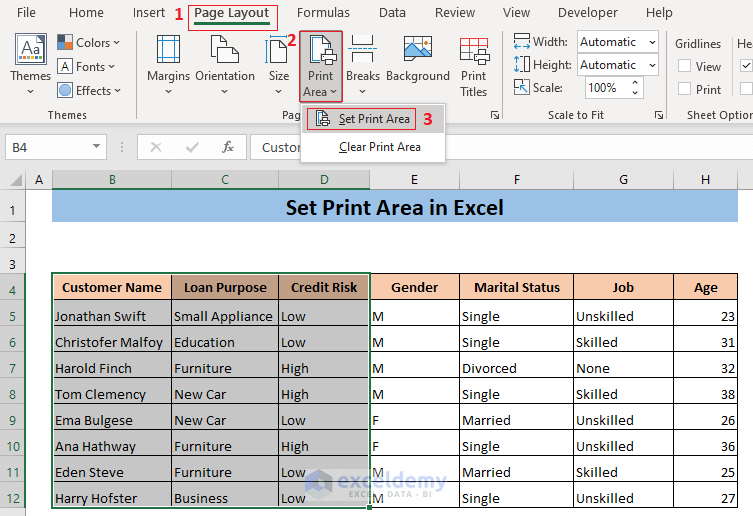
Secondly, go to the page layout option. Firstly, select the cells which we want to set as the print area for page 1. We can use the print area option from the page layout tab to create the required print areas in a worksheet. On the page layout tab, in the page setup group, click.
:max_bytes(150000):strip_icc()/ExcelPageBreakPreview-5c1c28c8c9e77c00017a2ade.jpg)
How to Set Print Area in Excel
Highlight the cells you want to print by clicking on the first cell and holding down shift on your mac or pc keyboard. Each print area prints on its own page. You will know the print area is set when you see the gray lines outlining your selection. Well, you don’t have to repeat the.

How to Set Print Areas in Excel A StepbyStep Guide
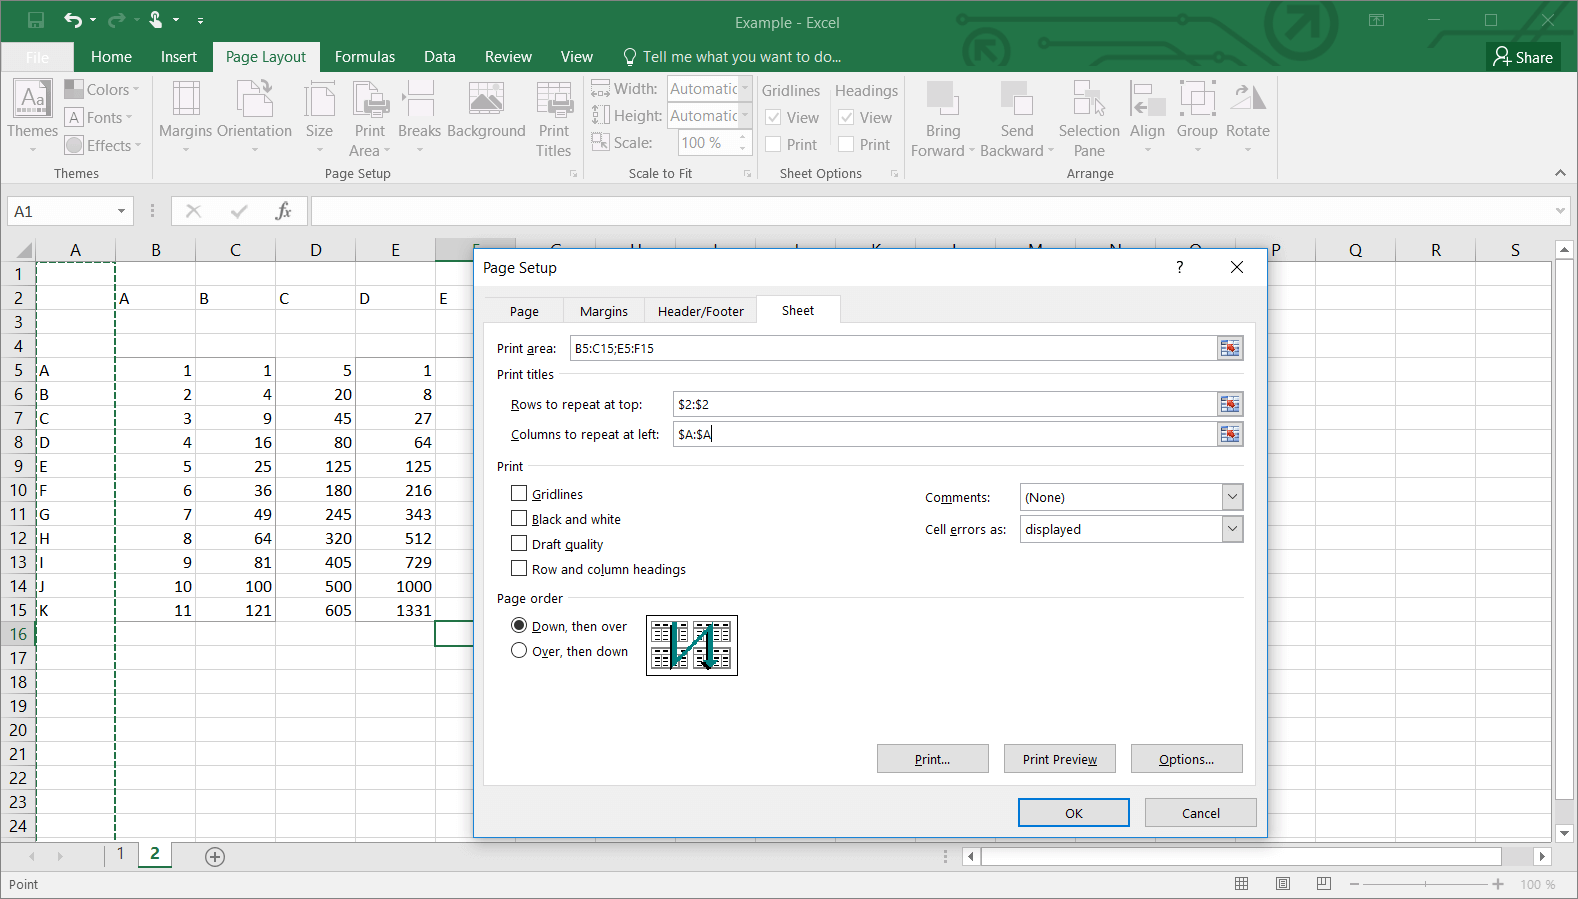
Select cells > go to page layout tab > page setup > print area > select set print area. In this article, i’ll show you how to set the print area for microsoft excel. Each print area will print as a separate page. Web click the page layout tab. Then, the page setup dialog box.

How to View the Print Area in Excel 2010 Solve Your Tech
Updated on july 11, 2022. Using set print area option to print multiple pages in excel. Select the part of the worksheet that you want to print. The print area button in the page setup block of the page layout tab is the default tool for setting a print area in excel. As a result,.
:max_bytes(150000):strip_icc()/ExcelSetPrintArea-5c23d199c9e77c0001adc722.jpg)
How to Set Print Area in Excel
Each print area prints on its own page. We can use the print area option from the page layout tab to create the required print areas in a worksheet. In this article, i’ll show you how to set the print area for microsoft excel. Choose set print area. to set multiple print areas in your.
How to Set Print Area in Excel (5 Methods) ExcelDemy
Highlight the area you want to set as the printable area. Afterward, go to the “page layout” tab and click the “print area” icon. Click the print area button. In this article, i’ll show you how to set the print area for microsoft excel. Web first, select the cells which you want to set as.
How to set the print area in Excel IONOS
Web click the page layout tab. Each print area will print as a separate page. Go to the ‘page layout’ tab. What do you do about it? More informative way to define print area in excel You will know the print area is set when you see the gray lines outlining your selection. Firstly, select.
Print Area in Excel Tutorial YouTube
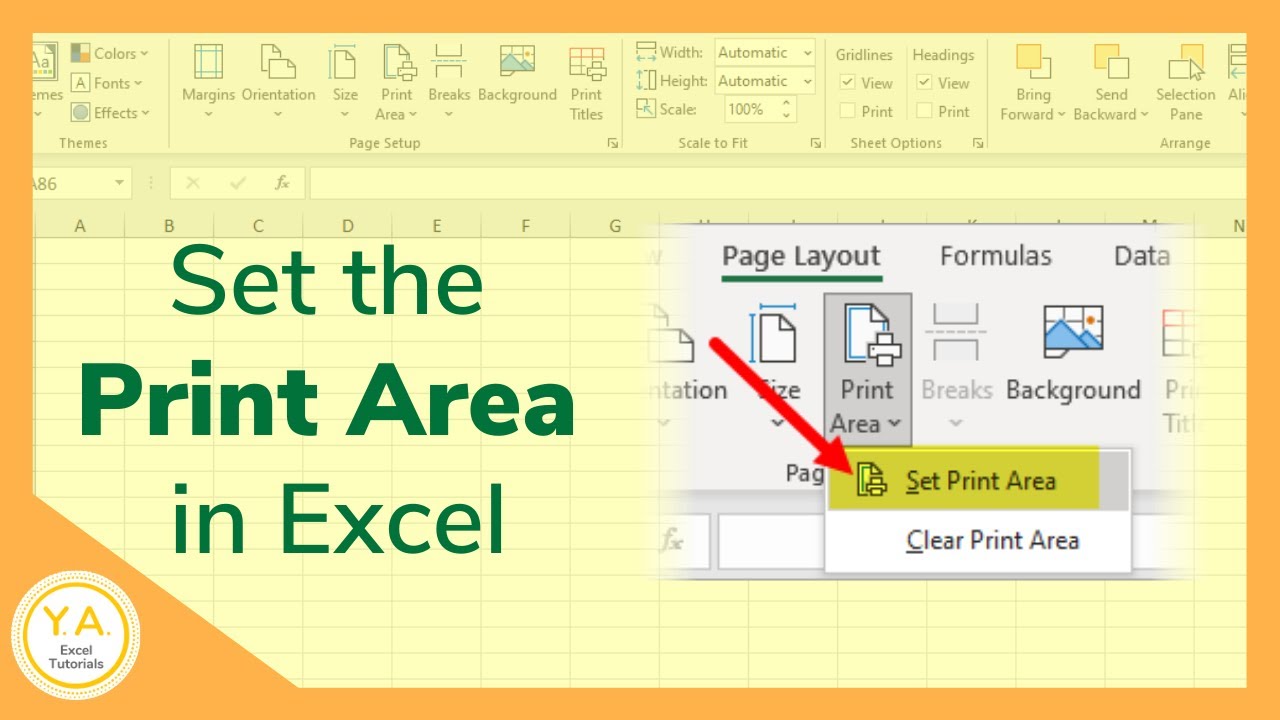
Finally, click “ print ” to print the designated area. Thirdly, choose the set print area option from the print area option. Click “ set print area ” to designate the selected cells as the print area. On the page layout tab, in the page setup group, click print area, and then click set print.
How To Set Printable Area In Excel Firstly, select the desired data table. To set multiple print areas, hold down the ctrl key and click the areas you want to print. Highlight a cell range you want to print exclusively on the paper sheet. Choose set print area. to set multiple print areas in your sheet, hold ctrl as you select each group of cells. Web first, select the cells which you want to set as the print area.
Click The Print Area Button.
Excel tutorials by easyclick academy. Afterward, go to the “page layout” tab and click the “print area” icon. Web when you press ctrl + p on your keyboard, you’ll get a print preview 👀. Web to set the print area a range of data in excel, first select the range you want to set as print area.
Here We Have The Steps:
As a result, you can see the print area that you selected. Now, select the number of cells or the area you need to print. Once a print area is set, add additional print areas by selecting the additional cells, clicking the print area button, and selecting add to print area. On the page layout tab, in the page setup group, click print area, and then click set print area.
Go To The Page Layout Tab.
Web click the page layout tab. Web to set the print area in excel 2013, simply select the cells you want to print, go to the page layout tab, click on print area, and choose set print area. Click “ set print area ” to designate the selected cells as the print area. Highlight the area you want to set as the printable area.
In The Print Dropdown, Click On The “Set Print Area”.
Highlight the cells you want to print by clicking on the first cell and holding down shift on your mac or pc keyboard. You will know the print area is set when you see the gray lines outlining your selection. Say you forgot to select other cells that should be included in your print area. To execute this, follow the steps below.