
How To Set Print Area In Excel
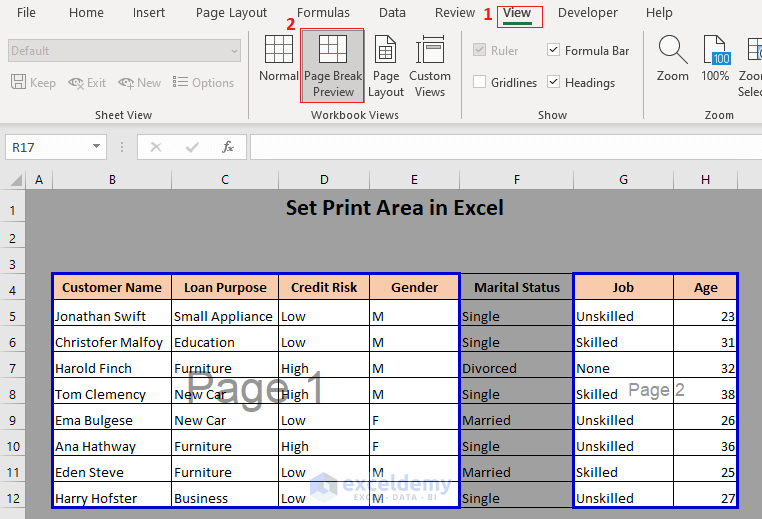
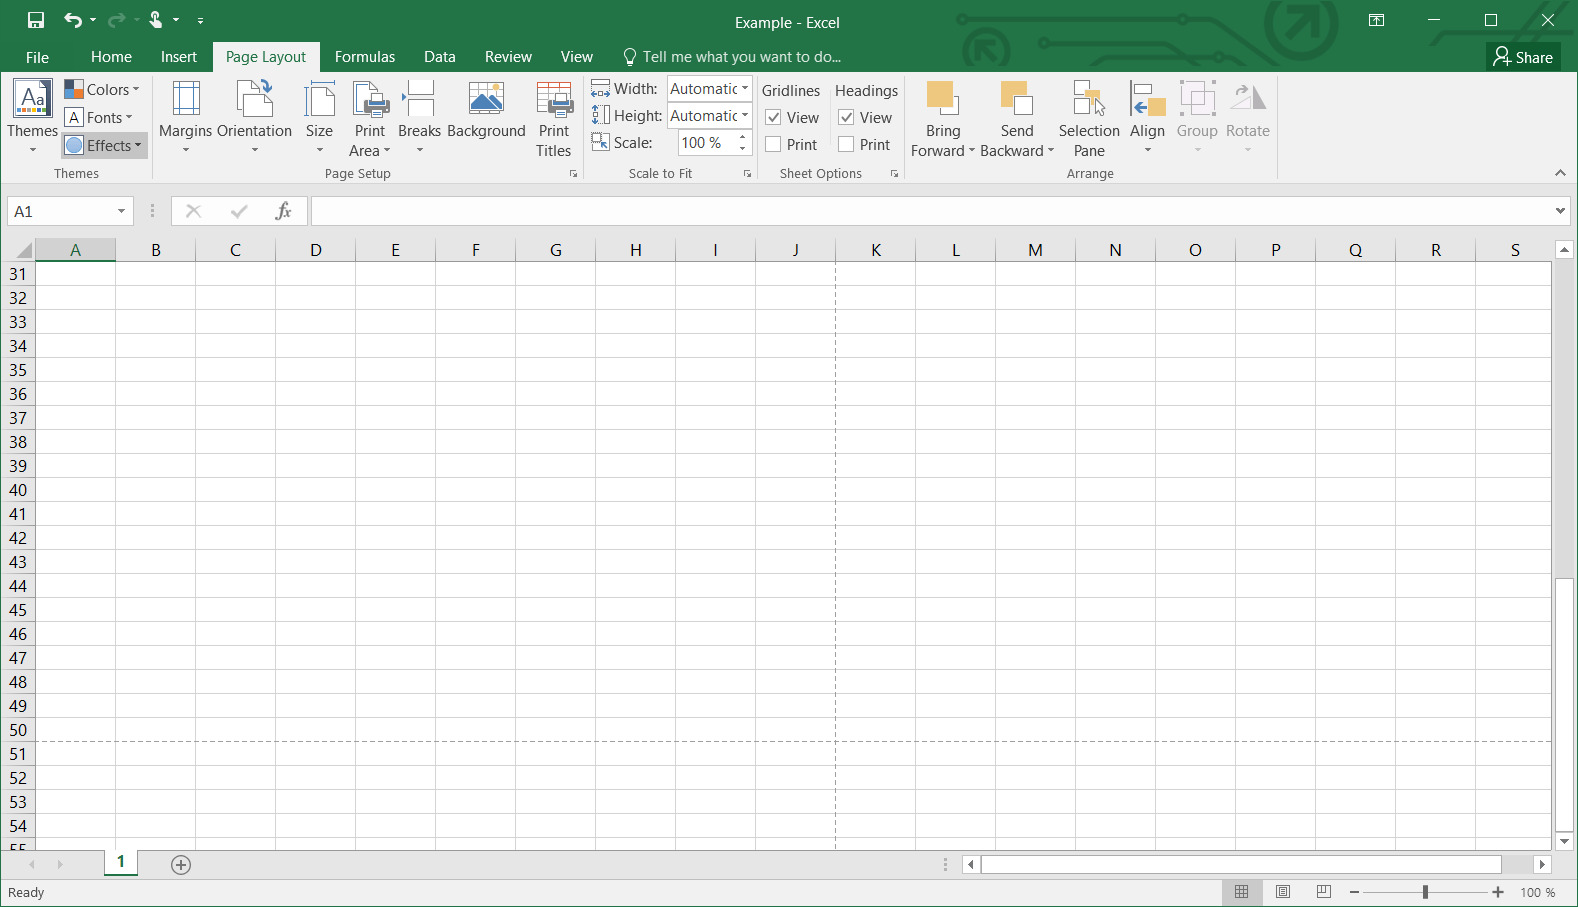
How To Set Print Area In Excel - A faint gray line will appear denoting the print area. More informative way to define print area in excel Web to set the print area, you select the area and hit the set print area command; Click on the ‘page layout’ tab in the ribbon at the top of the screen. Go to the ‘page layout’ tab.
Click on the ‘print area’ button. Here we have the steps: Updated on july 11, 2022. More informative way to define print area in excel We can use the print area option from the page layout tab to create the required print areas in a worksheet. Now, press alt + p + r + s to create the print area. You will know the print area is set when you see the gray lines outlining your selection.
:max_bytes(150000):strip_icc()/ExcelSetPrintArea-5c23d199c9e77c0001adc722.jpg)
How To Set Printable Area In Excel
Each print area prints on its own page. Hold ctrl while selecting areas > page layout > page setup > print area > select set print area. On the page layout tab, in the page setup group, click print area > set print area. The quickest way to set a constant print range is this:.

How To Change Printable Area In Excel
On the page layout tab, in the page setup group, click print area > set print area. Each print area prints on its own page. Now, to view the print area, First, select the cells which you want to set as the print area. Updated on july 11, 2022. Select cells > go to page.

How to Set Print Area in Excel Compute Expert
Web fastest way to set print area in excel. As a result, the selected cells will be set as the print area. Here we have the steps: Web set print area in excel using print area command. Now, to view the print area, To set a single print area, select the cells. To set multiple.
How to Set Print Area in Excel (5 Methods) ExcelDemy
You will know the print area is set when you see the gray lines outlining your selection. After that, go to print layout > print area and select set print area. Hold ctrl while selecting areas > page layout > page setup > print area > select set print area. You can set one or.
How to set the print area in Excel IONOS
Web the easiest way to set the print area is by selecting the print area option from the page layout tab. Select the cell range to print. After that, go to print layout > print area and select set print area. As a result, the selected cells will be set as the print area. You.

How to Set Print Areas in Excel A StepbyStep Guide
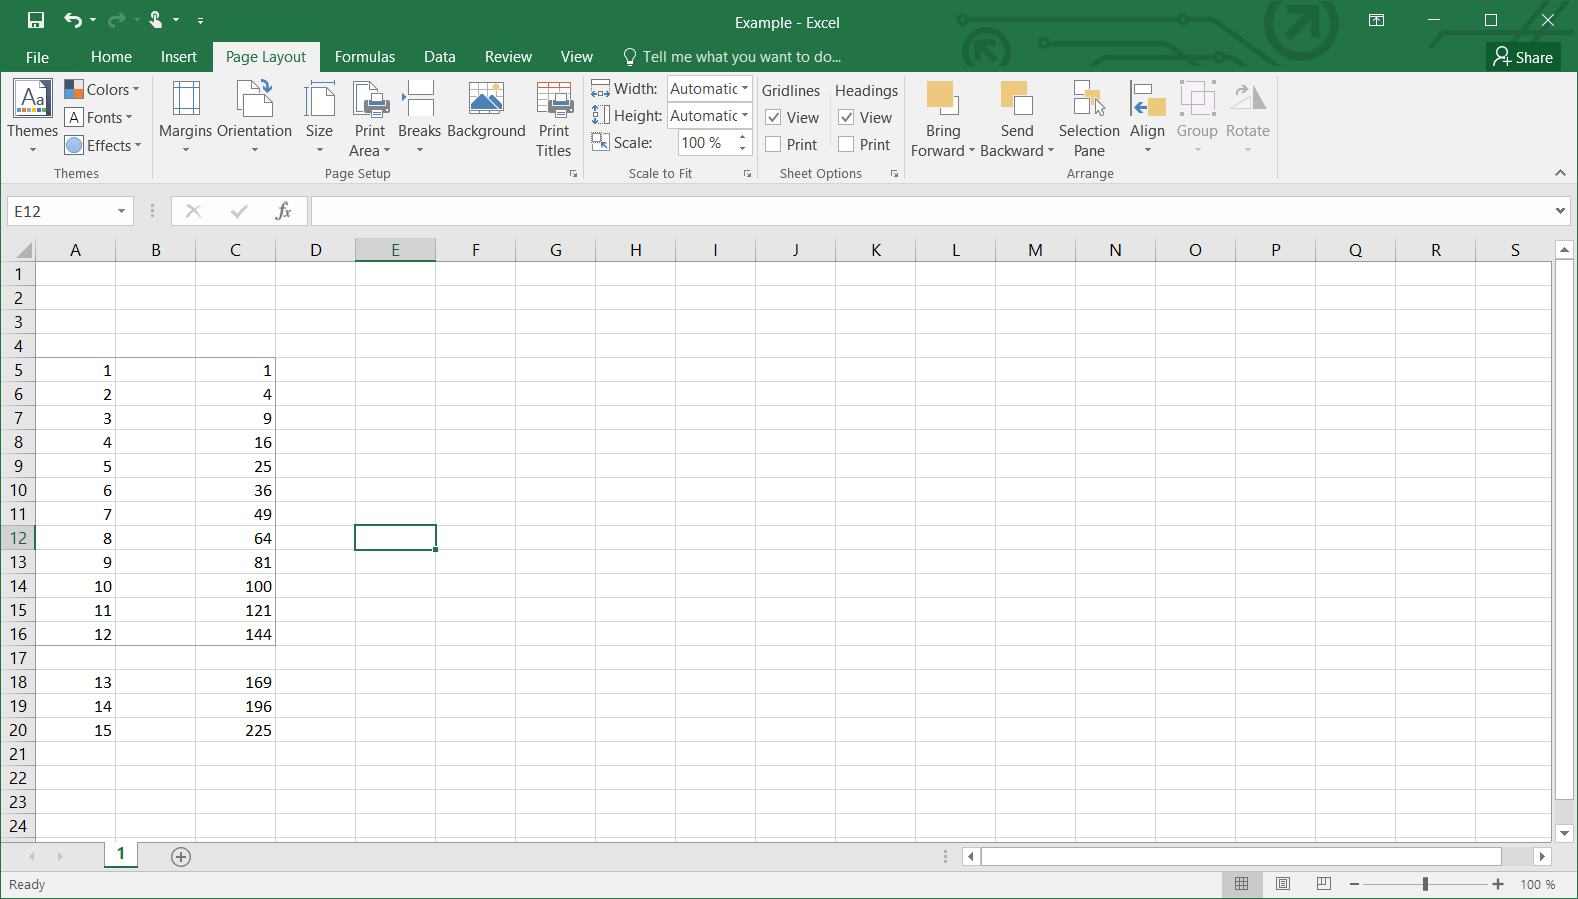
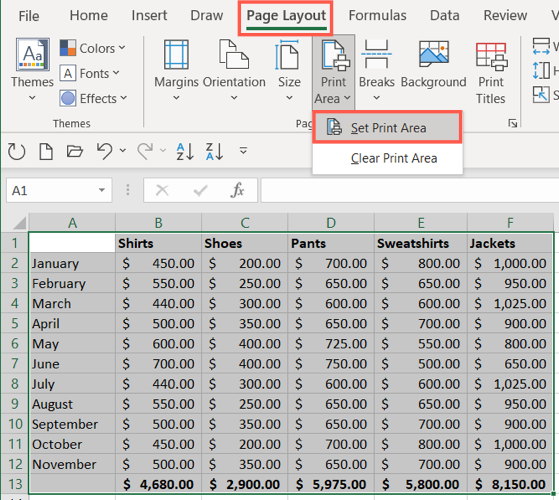
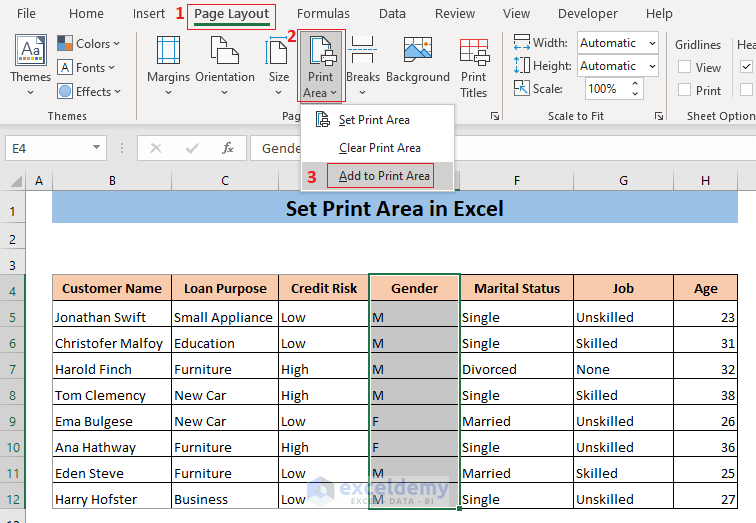
Go to the page layout tab. Within the page layout tab, locate the ‘print area’ button in the page setup group. To set multiple print areas, hold down the ctrl key and click the areas you want to print. Web on the worksheet, select the cells that you want to define as the print area..
How to Set a Print Area in Excel It’s Easy!
Web fastest way to set print area in excel. Click the print area button. Web on the worksheet, select the cells that you want to define as the print area. As a result, the selected cells will be set as the print area. Select cells > go to page layout tab > page setup >.
How to Set the Print Area in Microsoft Excel
Now, press alt + p + r + s to create the print area. On the page layout tab, in the page setup group, click print area > set print area. Web fastest way to set print area in excel. First, select the cells which you want to set as the print area. Web users.
How to set the print area in Excel IONOS
The print area button in the page setup block of the page layout tab is the default tool for setting a print area in excel. Select cells > go to page layout tab > page setup > print area > select set print area. Select the cell range to print. Web the easiest way to.
How to Set Print Area in Excel (5 Methods) ExcelDemy
Web set print area in excel using print area command. On the page layout tab, in the page setup group, click print area, and then click set print area. First, select the cells which you want to set as the print area. Each print area prints on its own page. Select cells > go to.
How To Set Print Area In Excel The quickest way to set a constant print range is this: Select the cell range to print. Now, to view the print area, You can set one or more print areas in the same excel sheet. After that, go to print layout > print area and select set print area.
Select The Cell Range To Print.
Hold ctrl while selecting areas > page layout > page setup > print area > select set print area. Go to the ‘page layout’ tab. To set multiple print areas, hold down the ctrl key and click the areas you want to print. Go to the page layout tab.
Click On The ‘Print Area’ Button.
Now, to view the print area, A faint gray line will appear denoting the print area. Each print area prints on its own page. On the page layout tab, in the page setup group, click print area > set print area.
You Will Know The Print Area Is Set When You See The Gray Lines Outlining Your Selection.
To set a single print area, select the cells. Web on the worksheet, select the cells that you want to define as the print area. We can use the print area option from the page layout tab to create the required print areas in a worksheet. Now, press alt + p + r + s to create the print area.
Web How To Set A Print Area In Excel.
The quickest way to set a constant print range is this: Web to set the print area, you select the area and hit the set print area command; Within the page layout tab, locate the ‘print area’ button in the page setup group. Click the print area button.