
How To Set A Print Area In Excel
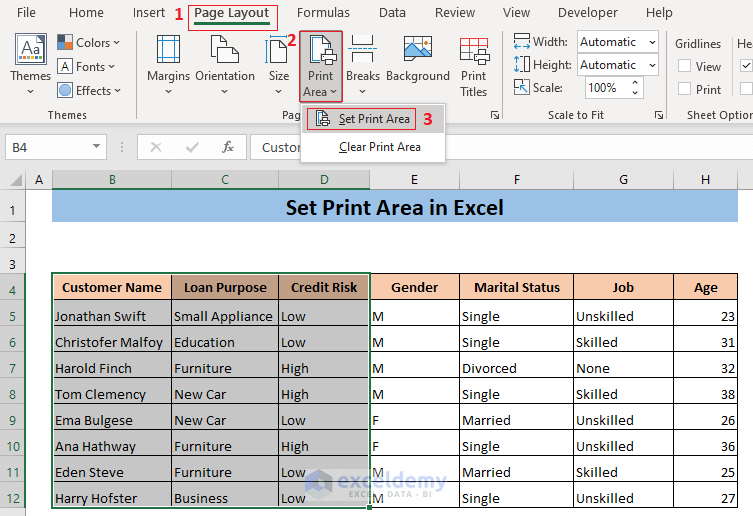
How To Set A Print Area In Excel - On the page layout tab, in the page setup group, click print area, and then click set print area. Each print area prints on its own page. After that, go to print layout > print area and select set print area. Go to the page layout tab. As a result, the selected cells will be set as the print area.
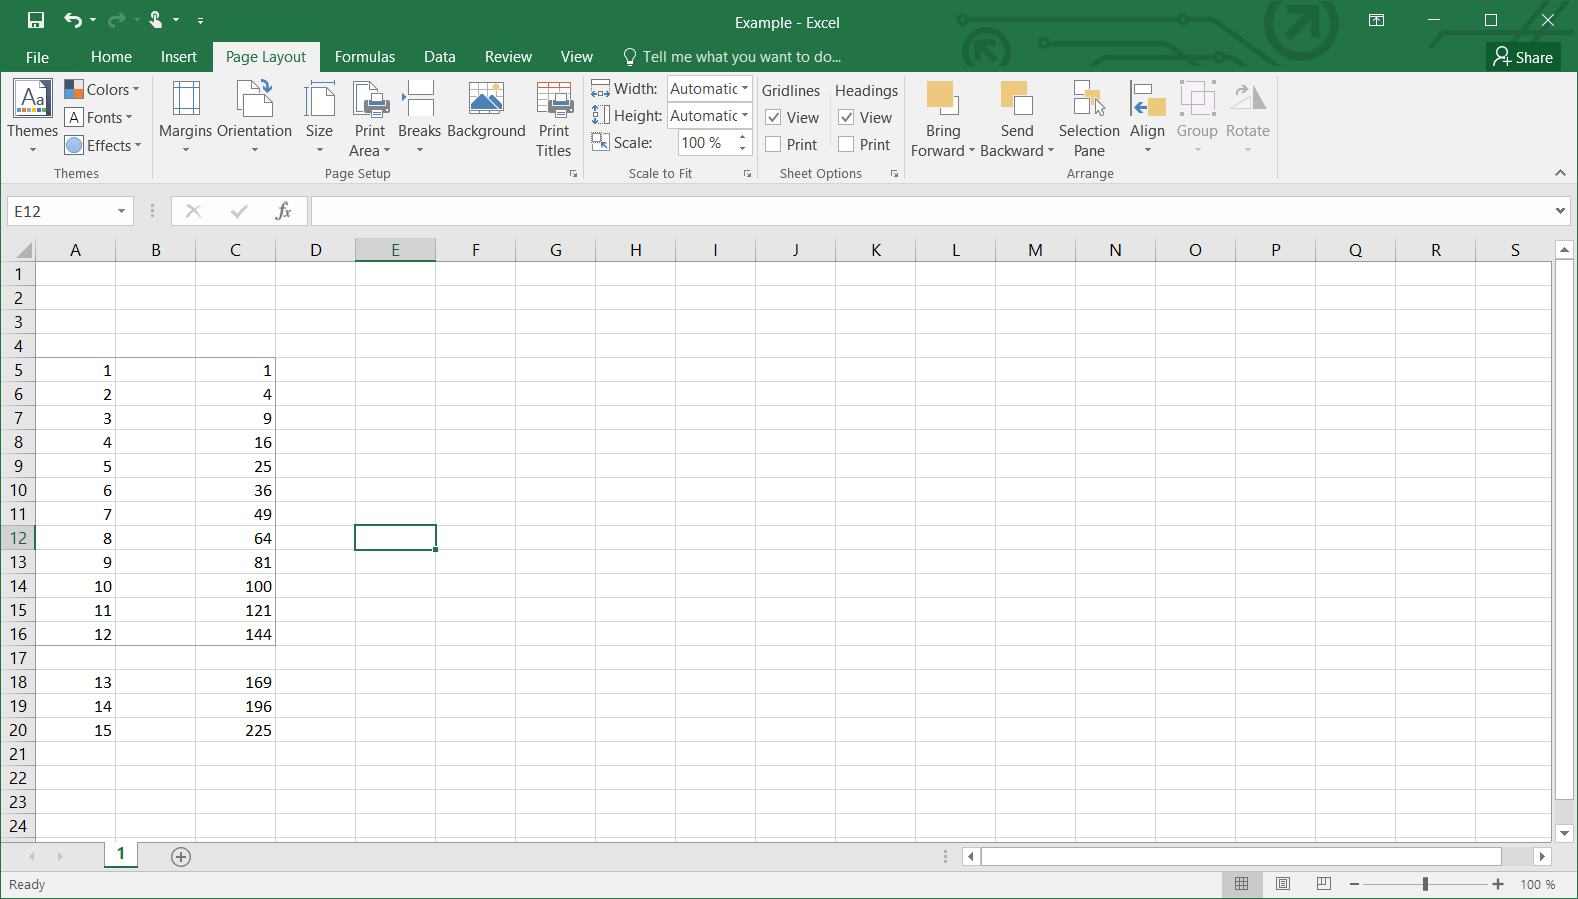
The print area button in the page setup block of the page layout tab is the default tool for setting a print area in excel. However, setting the click print area in excel will only allow you to include the selected area instead of the entire workbook. Click the print area button. Web to set a single print area, select the cells. Web to set the print area, you select the area and hit the set print area command; As a result, the selected cells will be set as the print area. Select cells > go to page layout tab > page setup > print area > select set print area.

How to Set the Print Area in Microsoft Excel
Each print area prints on its own page. Web set print area in excel using print area command. Hold ctrl while selecting areas > page layout > page setup > print area > select set print area. The quickest way to set a constant print range is this: To set multiple print areas, hold down.

How to View the Print Area in Excel 2010 Solve Your Tech
Select the part of the worksheet that you want to print. Hold ctrl while selecting areas > page layout > page setup > print area > select set print area. Choose set print area. to set multiple print areas in your sheet, hold ctrl as you select each group of cells. After that, go to.
:max_bytes(150000):strip_icc()/ExcelPageBreakPreview-5c1c28c8c9e77c00017a2ade.jpg)
How to Set Print Area in Excel
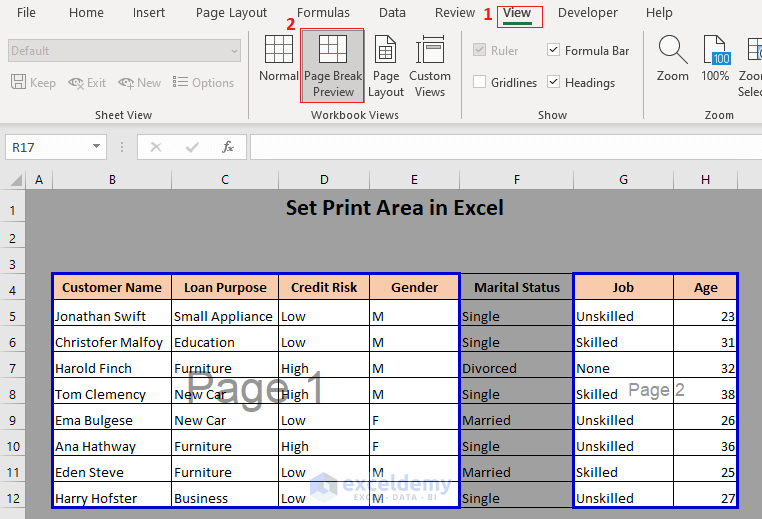
Select the cell range to print. Now, to view the print area, go to the view tab and select page break preview. Web on the worksheet, select the cells that you want to define as the print area. To set multiple print areas, hold down the ctrl key and click the areas you want to.
How to Set Print Area in Excel (5 Methods) ExcelDemy
Web to set a single print area, select the cells. Now, press alt + p + r + s to create the print area. However, setting the click print area in excel will only allow you to include the selected area instead of the entire workbook. The quickest way to set a constant print range.
How to Set Print Area in Excel (5 Methods) ExcelDemy
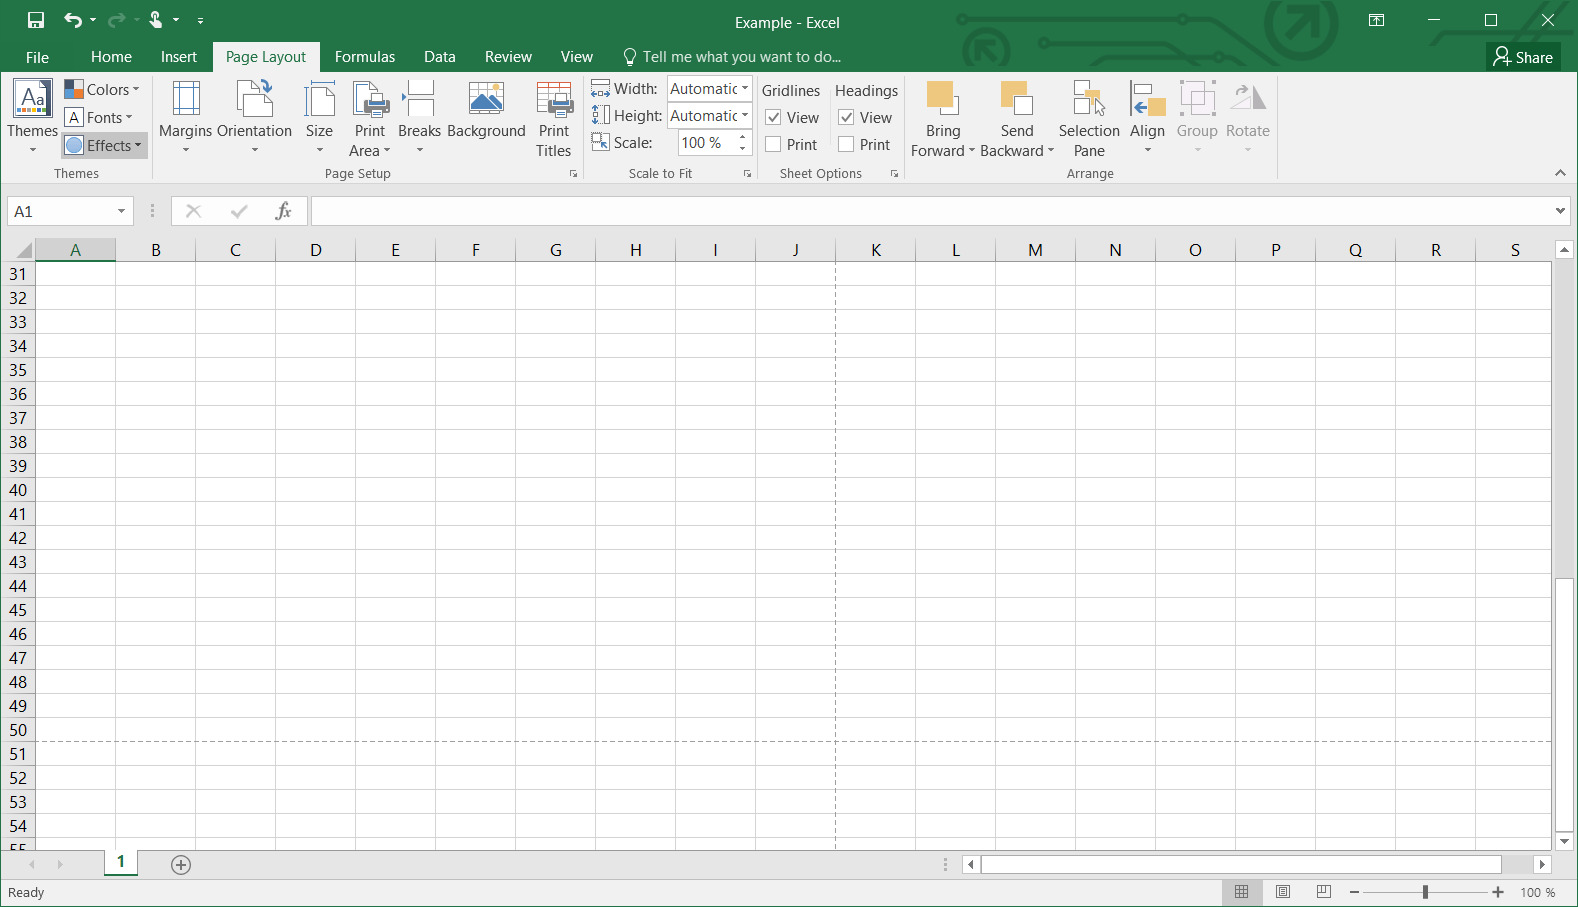
Go to the page layout tab. Web fastest way to set print area in excel. Highlight the cells you want to print by clicking on the first cell and holding down shift on your mac or pc. Choose set print area. to set multiple print areas in your sheet, hold ctrl as you select each.
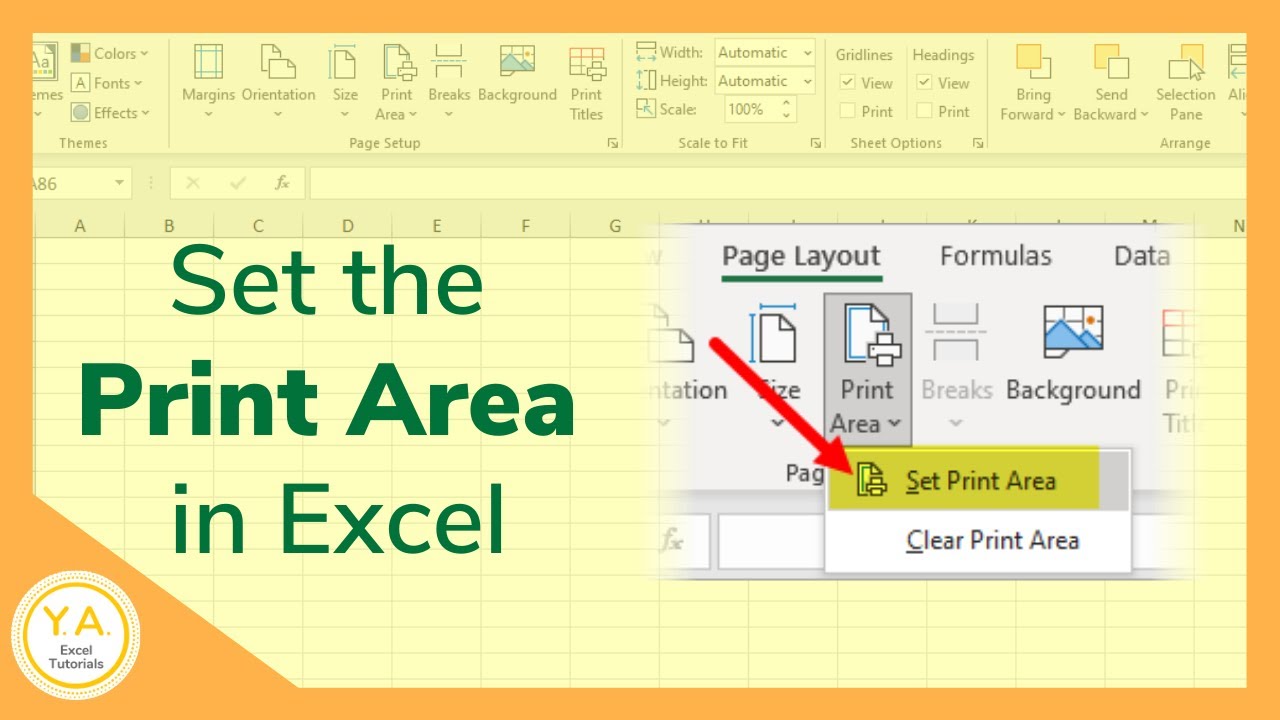
Print Area in Excel Tutorial YouTube
Web to set a single print area, select the cells. Updated on july 11, 2022. Select the cell range to print. Web on the worksheet, select the cells that you want to define as the print area. Each print area prints on its own page. Choose set print area. to set multiple print areas in.
:max_bytes(150000):strip_icc()/ExcelSetPrintArea-5c23d199c9e77c0001adc722.jpg)
How to Set Print Area in Excel
Choose set print area. to set multiple print areas in your sheet, hold ctrl as you select each group of cells. The print area button in the page setup block of the page layout tab is the default tool for setting a print area in excel. Web to set the print area, you select the.

How to Set the Print Area in MS Excel OfficeBeginner
Web first, select the cells which you want to set as the print area. On the page layout tab, in the page setup group, click print area, and then click set print area. Now, press alt + p + r + s to create the print area. Now, to view the print area, go to.
How to set the print area in Excel IONOS
Hold ctrl while selecting areas > page layout > page setup > print area > select set print area. Highlight the cells you want to print by clicking on the first cell and holding down shift on your mac or pc. Select the cell range to print. Web select page layout from the top menu..
How to set the print area in Excel IONOS
Now, to view the print area, go to the view tab and select page break preview. On the page layout tab, in the page setup group, click print area > set print area. You will know the print area is set when you see the gray lines outlining your selection. To set multiple print areas,.
How To Set A Print Area In Excel Web to set a single print area, select the cells. Select cells > go to page layout tab > page setup > print area > select set print area. The print area button in the page setup block of the page layout tab is the default tool for setting a print area in excel. You will know the print area is set when you see the gray lines outlining your selection. Web set print area in excel using print area command.
Highlight The Cells You Want To Print By Clicking On The First Cell And Holding Down Shift On Your Mac Or Pc.
Highlight a cell range you want to print exclusively on the paper sheet. More informative way to define print area in excel As a result, the selected cells will be set as the print area. Web select page layout from the top menu.
Web Clicking The “ Print ” Button Or Pressing The Ctrl Key + P Keyboard Shortcut Lets You Print An Entire Spreadsheet.
Here we have the steps: Web set print area in excel using print area command. Web to set the print area, you select the area and hit the set print area command; Web fastest way to set print area in excel.
After That, Go To Print Layout > Print Area And Select Set Print Area.
Go to the page layout tab. Updated on july 11, 2022. Select cells > go to page layout tab > page setup > print area > select set print area. Web to set a single print area, select the cells.
You Will Know The Print Area Is Set When You See The Gray Lines Outlining Your Selection.
Hold ctrl while selecting areas > page layout > page setup > print area > select set print area. On the page layout tab, in the page setup group, click print area > set print area. Now, press alt + p + r + s to create the print area. Each print area prints on its own page.